
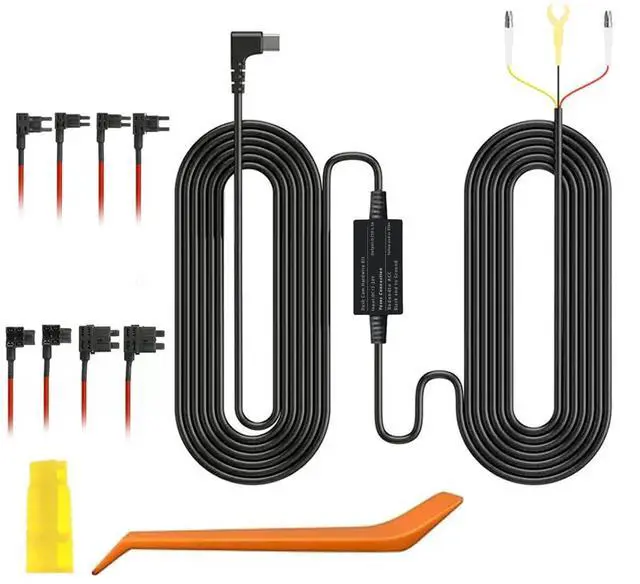


Introduction to Hardwire Kit Connections

Parking monitoring
1.Connects directly to the battery for 24-hour continuous power to prevent car theft in the parking lot.
2.Connects directly to the ignition wires for power only so it goes along with the ignition switch.

Compatible with 12 - 24 volt vehicles
This hardwired kit accepts voltage from any type of vehicle and operates from 12 - 24V, making it ideal for continuous powering of cars, trucks, buses, SUV's, or large trucks.

low voltage protection
Smart low voltage protection automatically shut off the power to your dash cam when the battery voltage drops to 11.6V(12V cars) or 23.2V(24V cars), thus preventing it draining the battery.

Mounting position
Note: The location of the fuse box may not be the same in different models, please install according to the actual

Pictures for reference only
Open the car fuse box.

Pictures for reference only
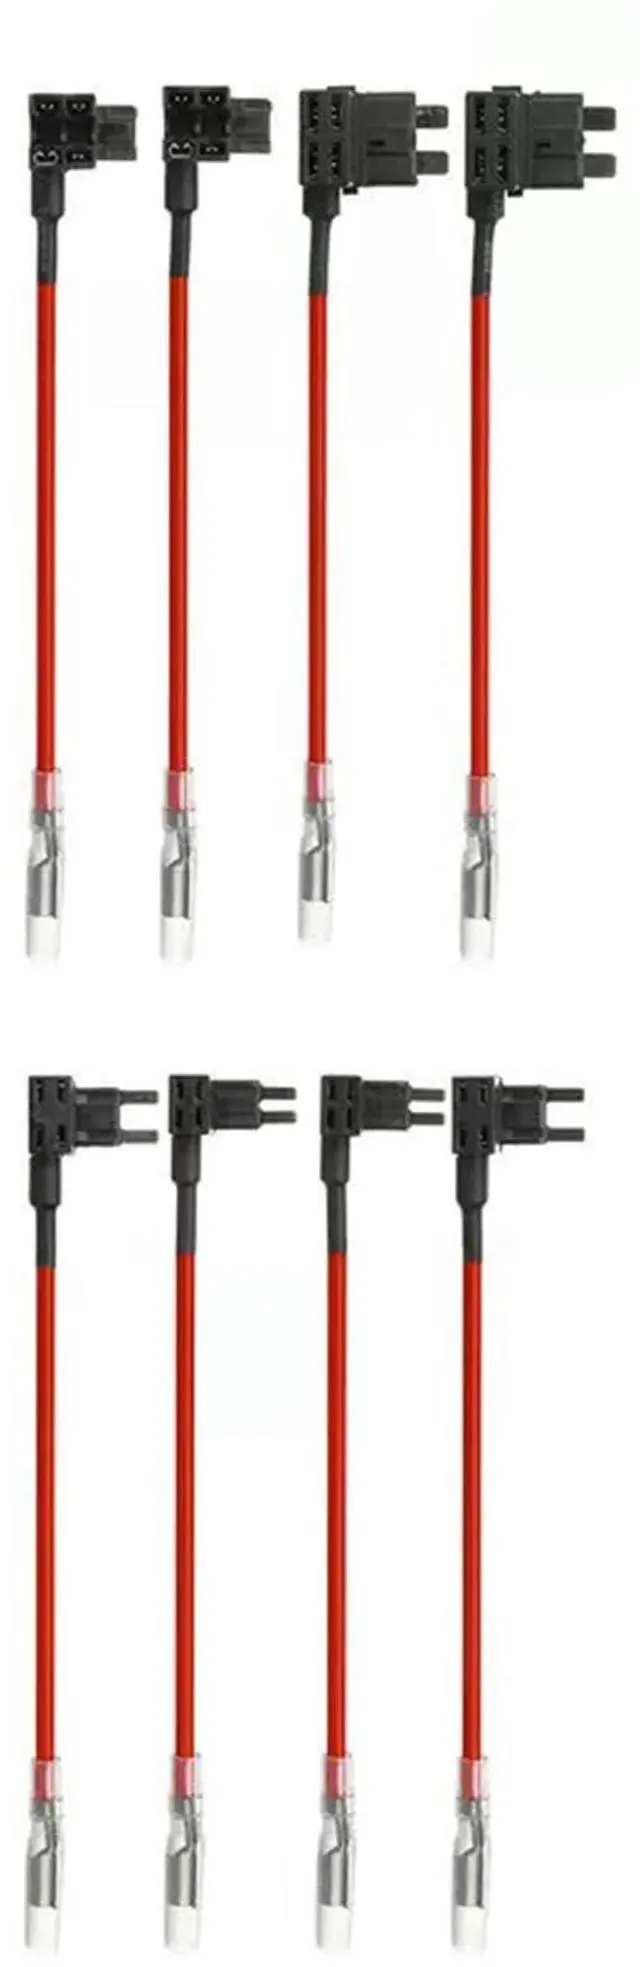
Finding the right size connector

Pictures for reference only
Connect the ACC power and ground wires

Pictures for reference only
Each car disassembles the fuse box will have the corresponding chart position display sticker on the back of the cover
Installation Instructions
1. Ensure that all preparations are complete and safe before installation.
2. Locate the vehicle's fuse box. It is typically located below the dashboard on the driver's side or in the engine compartment.
3. Locate the ACC (accessory) fuse slot in the fuse box. This slot provides power when the ignition switch is turned on. Locate the constant power fuse slot in the fuse box. This slot provides power even when the ignition switch is off.
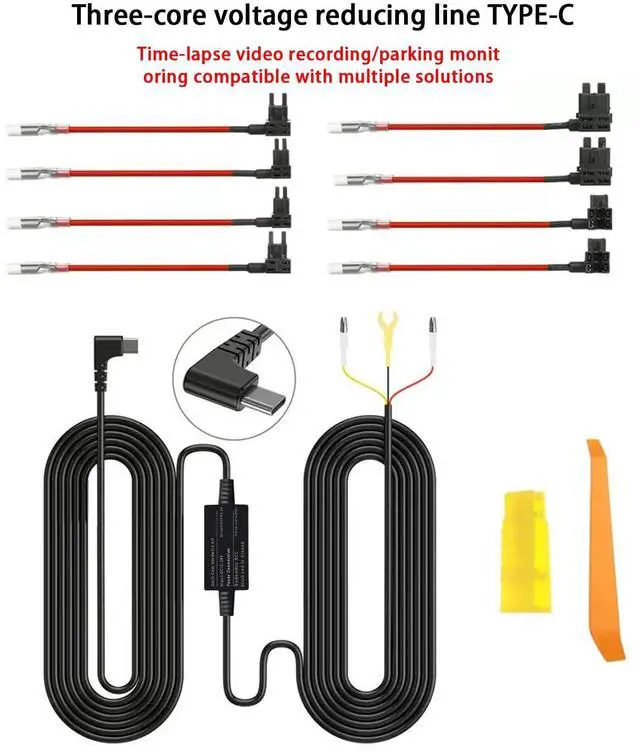
4. Connect the red wire from the hardwire kit to the ACC fuse slot. Connect the yellow wire from the hardwire kit to the constant power fuse slot. You may use a fuse splitter or fuse adapter for the connection.
5. Locate a suitable grounding point near the fuse box. This grounding point should be a metal surface securely connected to the vehicle chassis.
6. Use a ring terminal or suitable grounding connector to connect the black wire from the hardwiring kit to the grounding point.
7. After ensuring all connections are secure, organize and store any excess wires, ensuring they are safely routed to avoid interfering with the vehicle's control systems.
8. Test the hardwiring kit by turning on the ignition switch. The dashcam should receive power and begin functioning normally.

Introduction to Hardwire Kit Connections
Parking monitoring
1.Connects directly to the battery for 24-hour continuous power to prevent car theft in the parking lot.
2.Connects directly to the ignition wires for power only so it goes along with the ignition switch.
Compatible with 12 - 24 volt vehicles
This hardwired kit accepts voltage from any type of vehicle and operates from 12 - 24V, making it ideal for continuous powering of cars, trucks, buses, SUV's, or large trucks.
low voltage protection
Smart low voltage protection automatically shut off the power to your dash cam when the battery voltage drops to 11.6V(12V cars) or 23.2V(24V cars), thus preventing it draining the battery.
Mounting position
Note: The location of the fuse box may not be the same in different models, please install according to the actual
Pictures for reference only
Open the car fuse box.
Pictures for reference only
Finding the right size connector
Pictures for reference only
Connect the ACC power and ground wires
Pictures for reference only
Each car disassembles the fuse box will have the corresponding chart position display sticker on the back of the cover
Installation Instructions
1. Ensure that all preparations are complete and safe before installation.
2. Locate the vehicle's fuse box. It is typically located below the dashboard on the driver's side or in the engine compartment.
3. Locate the ACC (accessory) fuse slot in the fuse box. This slot provides power when the ignition switch is turned on. Locate the constant power fuse slot in the fuse box. This slot provides power even when the ignition switch is off.
4. Connect the red wire from the hardwire kit to the ACC fuse slot. Connect the yellow wire from the hardwire kit to the constant power fuse slot. You may use a fuse splitter or fuse adapter for the connection.
5. Locate a suitable grounding point near the fuse box. This grounding point should be a metal surface securely connected to the vehicle chassis.
6. Use a ring terminal or suitable grounding connector to connect the black wire from the hardwiring kit to the grounding point.
7. After ensuring all connections are secure, organize and store any excess wires, ensuring they are safely routed to avoid interfering with the vehicle's control systems.
8. Test the hardwiring kit by turning on the ignition switch. The dashcam should receive power and begin functioning normally.