")


XANHAM-RJ45 Connector

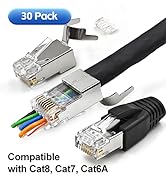

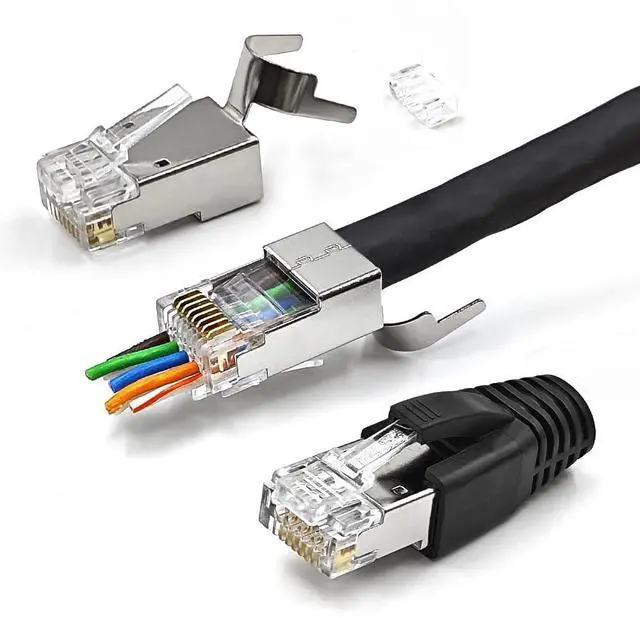
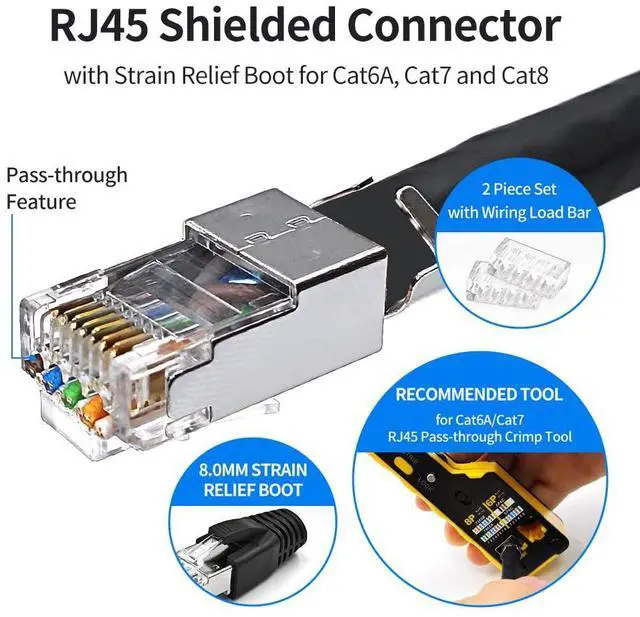
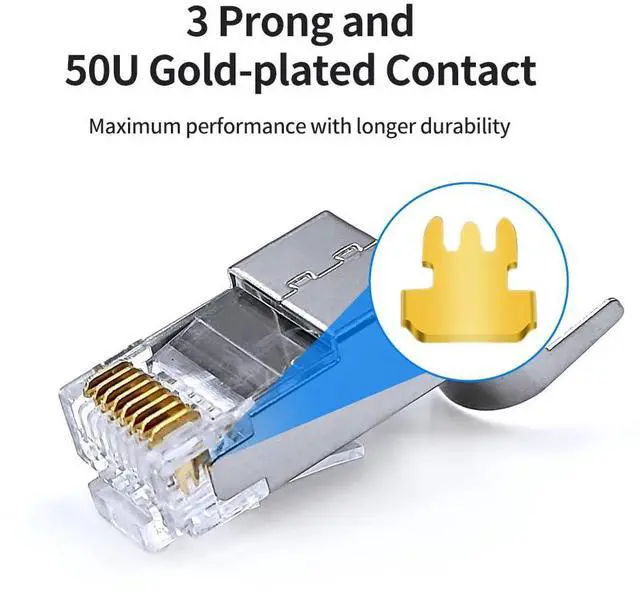
Shielded RJ45 Connector

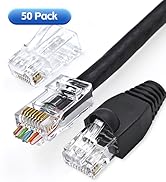
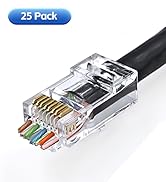

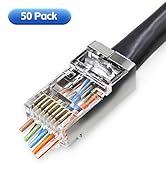
Cat6/5e Unshielded Connector


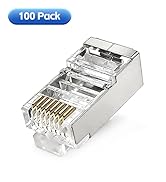
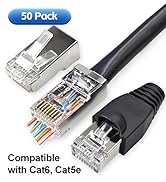
Cat6/5e Shielded Connector
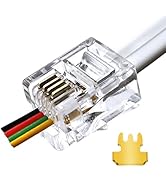
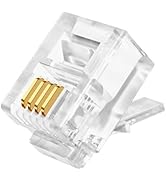
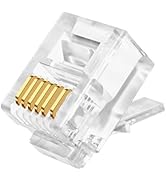
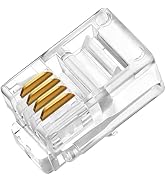
Telephone Connector

Founded in 1995, we initially focused on OEM production of high-quality signal transmission cables. With more than 25 years producing and processing experience and accumulation of technology, we gradually publish mature and stable products to the market.
Our aim is simplicity, stability and high quality, acting like a bridge, just like a data connection cable to make connection easier and more effective.


How to make an Ethernet cable with RJ45 Connectors?

1, Put the cable strain relief boot pass into the cable.

2, Put the network cable into the stripping port of the crimping tool and rotate it to taking off the cable outer jacket.

3, Twisting the braided shielding round(DO NOT cut it off), and separating 4 pairs conducting wires.

4, Cutting off the AL-foil shielding. Then, separating the conducting wires and making the wires straight enough.

5, Arranging the wires to the required sequence(NORMALLY 568B sequence).

6, Trim the tips of the wires with a crimping tool to make tips neat and reserve length.

7, Push the wires pass the load bar and double check the wiring sequence.

8, Push the loaded load bar into the connector and let all the wires pass the connector to make sure the load bar reach the end of the connector.

9, Put the wired crystal RJ45 end into the cable clamp and crimping.

10, Take the braided shielding and wrap it around to the connector buckle.

11, Bend the buckle and closing it tightly.

12, Push the strain relief boot to fit tightly with the connector.

Suggestion:
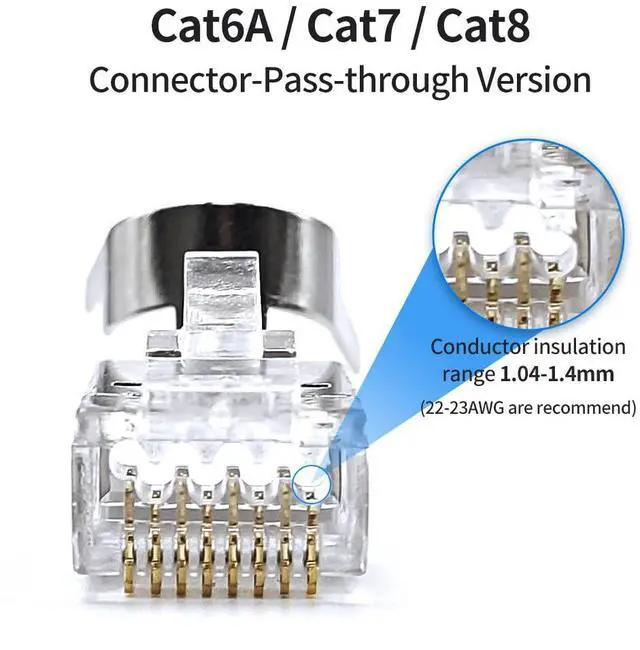
For Ethernet cable which is 22AWG wires or insulation diameter larger than 1.3mm, we suggest insert the wires separately to the load bar. For example, you can insert 2 wires at a time into the corresponding holes and dividing into 4 times to improve accuracy.


How to make an Ethernet cable with RJ45 Connectors?
1, Put the cable strain relief boot pass into the cable.
2, Put the network cable into the stripping port of the crimping tool and rotate it to taking off the cable outer jacket.
3, Twisting the braided shielding round(DO NOT cut it off), and separating 4 pairs conducting wires.
4, Cutting off the AL-foil shielding. Then, separating the conducting wires and making the wires straight enough.
5, Arranging the wires to the required sequence(NORMALLY 568B sequence).
6, Trim the tips of the wires with a crimping tool to make tips neat and reserve length.
7, Push the wires pass the load bar and double check the wiring sequence.
8, Push the loaded load bar into the connector and let all the wires pass the connector to make sure the load bar reach the end of the connector.
9, Put the wired crystal RJ45 end into the cable clamp and crimping.
10, Take the braided shielding and wrap it around to the connector buckle.
11, Bend the buckle and closing it tightly.
12, Push the strain relief boot to fit tightly with the connector.

Suggestion:
For Ethernet cable which is 22AWG wires or insulation diameter larger than 1.3mm, we suggest insert the wires separately to the load bar. For example, you can insert 2 wires at a time into the corresponding holes and dividing into 4 times to improve accuracy.
XANHAM-RJ45 Connector
Shielded RJ45 Connector
Cat6/5e Unshielded Connector
Cat6/5e Shielded Connector
Telephone Connector
Founded in 1995, we initially focused on OEM production of high-quality signal transmission cables. With more than 25 years producing and processing experience and accumulation of technology, we gradually publish mature and stable products to the market.
Our aim is simplicity, stability and high quality, acting like a bridge, just like a data connection cable to make connection easier and more effective.